What Your Check Engine Light Is Really Telling You (And Why You Don’t Need to Panic Purchase a New Engine)
That little orange “check engine” icon has a special talent: it can turn a perfectly normal Tuesday errand run into a full body spiral. Suddenly you’re hearing phantom noises, imagining catastrophic bills, and wondering if you should start a GoFundMe for a new transmission.
Here’s the reality check I wish someone had tattooed on my forehead the first time mine lit up: most check engine lights are triggered by minor stuff think loose gas cap, tired spark plugs, a sensor having a moody day. Not always, obviously. But often enough that you should start with curiosity, not doom.
Let’s talk urgency first (because that’s the part that matters when you’re sitting in traffic), then I’ll walk you through how to pull the code yourself and what the common ones usually mean without getting bullied into unnecessary repairs.
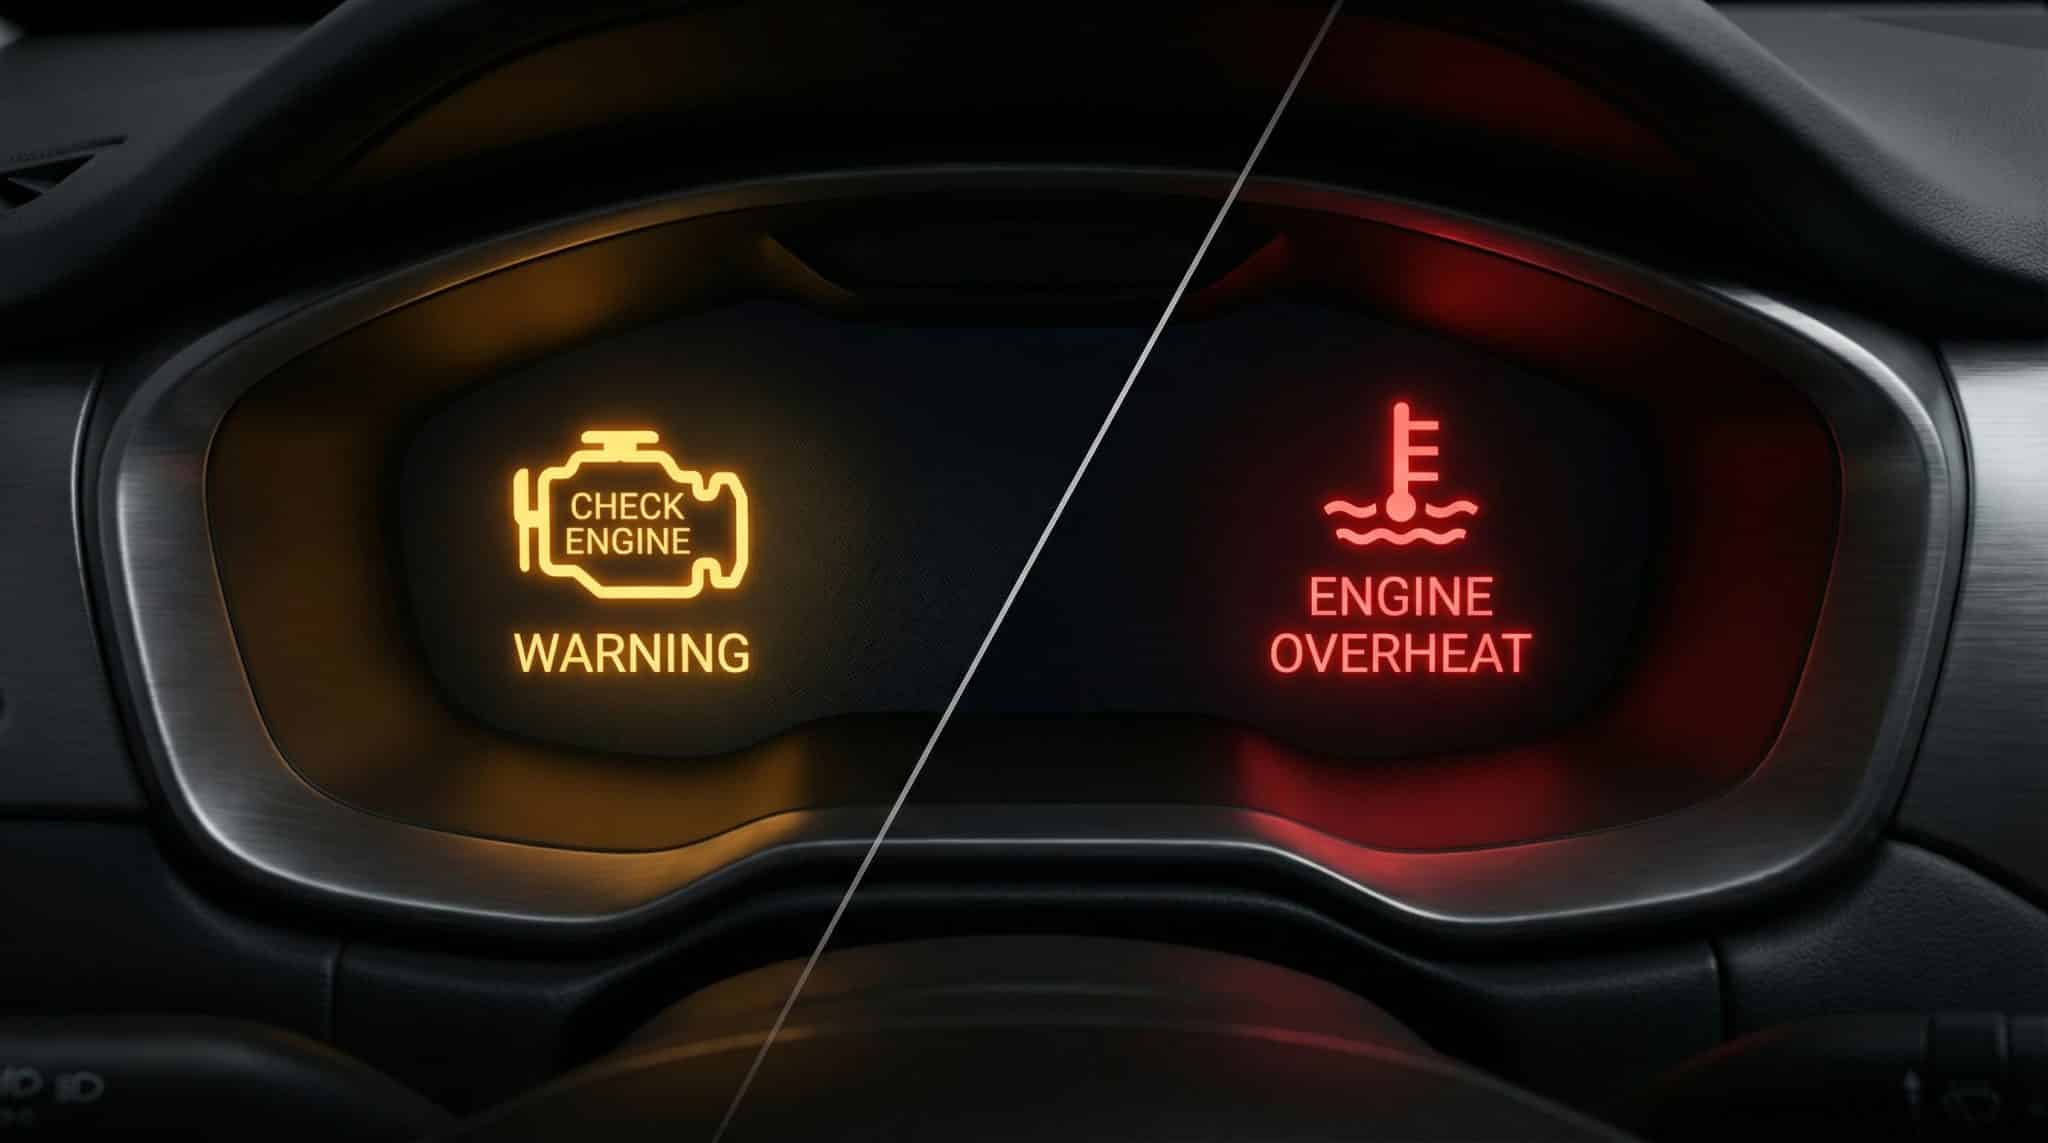
Step 1: Is It Solid or Flashing? (This Is Not a Trick Question.)
If the check engine light is solid: your car logged a fault, but it’s not currently waving its arms screaming “STOP EVERYTHING.” You can usually finish your errands and deal with it within a day or two.
My “solid light” to do list:
- Pay attention: is it driving rough, hesitating, shaking, or chugging fuel?
- Check the gas cap (I know, I know BUT DO IT). Tighten until it clicks a couple times.
- Get the code read (free at many auto parts stores, or do it at home more on that below).
- Look up the exact code before approving any “you need $1,200 today” situation.
If the check engine light is flashing: different vibe. A flashing light often means active misfires aka unburned fuel heading into your catalytic converter like it’s trying to set it on fire. That’s how a “maybe spark plugs” problem turns into a “why is my car eating $1,000+ parts” problem.
Do this if it’s flashing:
- Slow down and pull over safely.
- Shut the engine off and give it 10-15 minutes to cool.
- Restart and see if it’s still flashing.
- If it keeps flashing, don’t keep driving. Tow it. Yes, towing is annoying. Yes, it’s still cheaper than cooking your converter.
And here’s the “even if it’s solid, stop anyway” list: loss of power when you hit the gas, steady knocking, burning smell from the exhaust, or visible fluid leaks. If your car is acting like it’s in pain, don’t force it to “just get you home.”
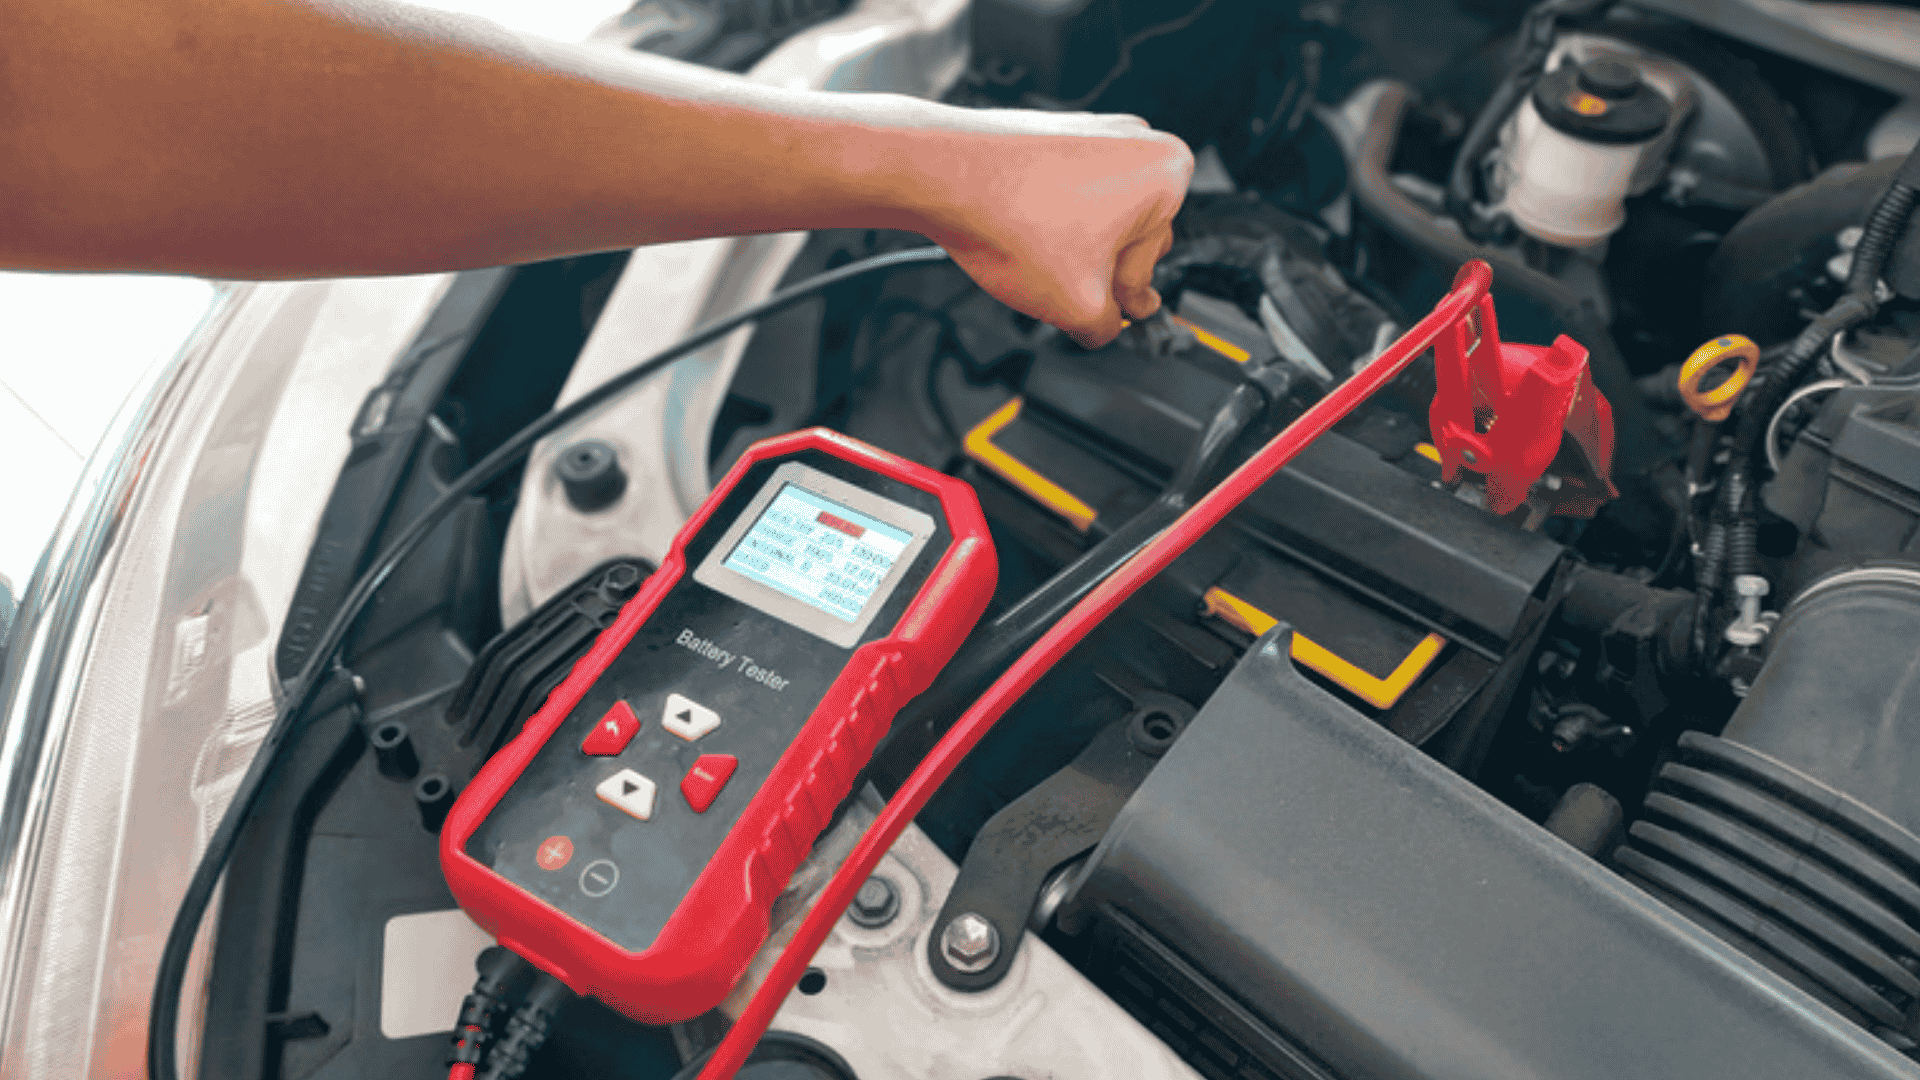
Step 2: Don’t Guess Pull the Code (It’s Easier Than People Make It Sound)
You’ve got three main options, and none require you to be the kind of person who owns a torque wrench “for fun.”
- Auto parts store scan: usually free, quick, and they’ll hand you a printout with the code. (Helpful! Just remember they’re not diagnosing your car’s whole life story in the parking lot.)
- Basic handheld scanner: typically $25-$60. Plugs in, tells you the code, lets you clear it after you fix the issue.
- Bluetooth adapter + phone app: usually $15-$50. This is my favorite for DIY types because you can often see some live data too.
The OBD-II port is usually under the steering wheel on the driver’s side (a little rectangular 16 pin connector). Plug in, turn the key to “on” (or ignition on), and read the codes.
Important reality check: the code tells you the symptom, not the cause. A code can basically say, “Hey, I’m seeing something weird,” not “Replace this specific $300 part immediately.” Anyone who tells you otherwise is either mistaken… or auditioning to take your money.
A 60 Second Decoder Ring: What the Code Format Means
Most check engine codes look like P0171.
- P = powertrain (engine/transmission/emissions). This is the majority of check engine lights.
- 0 = generic code (same across most cars since 1996). 1 often means manufacturer specific.
- The last three digits point to the general issue.
You don’t need to memorize this. It just helps you not feel like the code is written in ancient car hieroglyphics.
The Most Common Codes (And What I’d Check First)
I’m going to keep this practical aka “what’s the likely culprit and what’s a smart first move?” not “here’s a 12 step diagnostic flowchart that makes you cry into your steering wheel.”
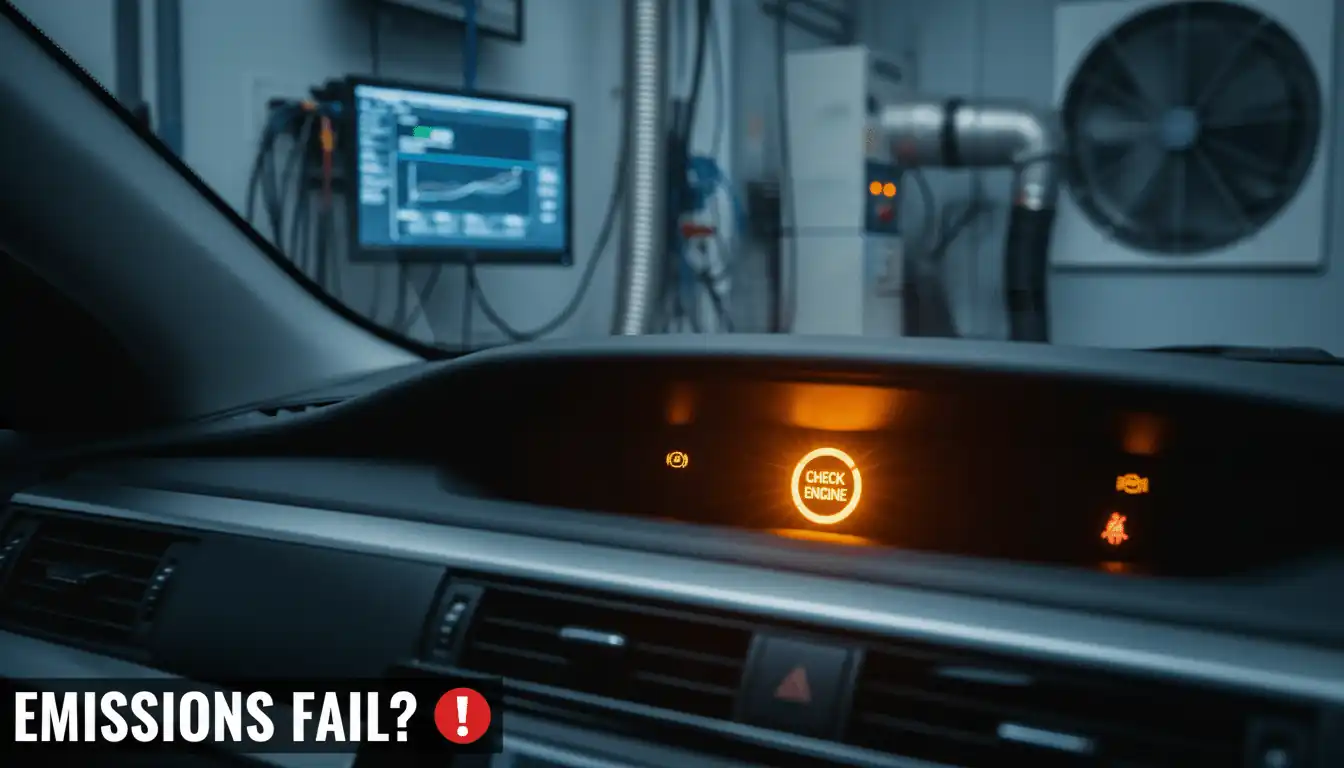
P0440-P0456: EVAP Leak (AKA “Your Gas Cap Is Guilty Until Proven Innocent”)
These are the ones that love to show up right after you get gas, like your car is nagging you for not clicking the cap all the way. They usually don’t change how the car drives, but they will fail an emissions test.
- Check the gas cap seal for cracks or flattening.
- Re-seat it and tighten until it clicks 2-3 times.
- Drive normally for a few trips and see if it clears.
- If your cap looks ancient, replacing it is often a cheap first try ($10-$25).
P0300 or P0301-P0308: Misfires (This One Matters)
P0300 = random/multiple misfires. P0301 = cylinder 1 misfire, etc. Misfires can be “small fix” or “stop driving” depending on severity especially if the light is flashing.
What I’d check first (DIY friendly on many cars):
- Spark plugs (worn, fouled, overdue very common).
- Ignition coils (also common).
- Loose intake hoses/vacuum leaks (the sneaky little air leaks).
If you’ve got a single cylinder misfire and coil on plug ignition, a classic test is to swap the coil with another cylinder and see if the misfire “moves.” If it follows the coil, congrats, you found your problem without throwing random parts at it.
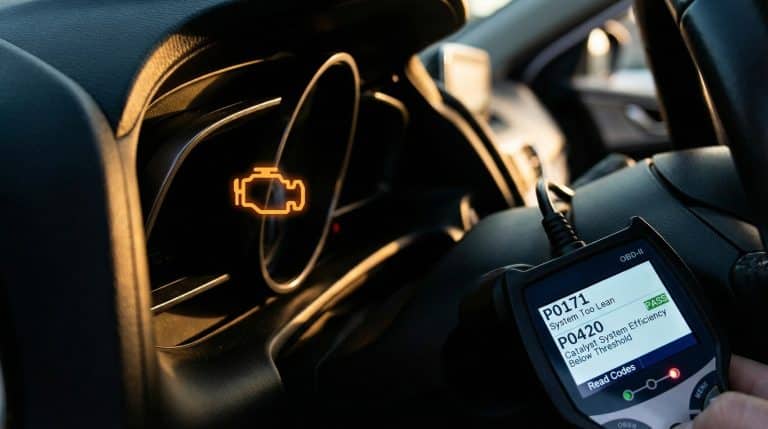
P0171 / P0174: Running Lean (Too Much Air, Not Enough Fuel)
Lean codes can come from vacuum leaks, intake issues, a dirty MAF sensor, or fuel delivery problems.
Before buying parts, I’d do these simple checks:
- Listen for a hissing sound around the intake (vacuum leak vibes).
- Inspect vacuum hoses for cracking (especially at the ends).
- Replace a clogged air filter if it looks like it’s been through war.
P0172 / P0175: Running Rich (Too Much Fuel)
Rich codes can smell like fuel, wreck your gas mileage, and sometimes cause rough starts. Often the “cheap try” is cleaning the MAF sensor (correctly).
- Use MAF sensor cleaner only (not carb cleaner, not brake cleaner, not “whatever’s in the garage”).
- Let it fully air dry before reinstalling.
P0101 / P0102: MAF Sensor Range/Performance
The MAF sensor measures incoming air. If it’s dirty or the intake has a crack, readings go weird and your car gets cranky.
- Replace the air filter.
- Check the intake tube for cracks/loose clamps.
- Clean the MAF with proper cleaner.
P0420 / P0430: Catalyst Efficiency (The One Everyone Panics About)
These codes mean the computer isn’t happy with catalytic converter performance. That does not automatically mean “buy a new converter today.” I’ve seen people get scared into that purchase when the real issue was an exhaust leak or an O2 sensor acting up.
Smart moves before you accept a wallet melting quote:
- Fix any rich/lean/misfire issues first (they can trigger catalyst codes).
- Ask if they checked for exhaust leaks ahead of the sensor.
- Ask what the O2 sensor data looks like (they should be able to show you readings).
P0128: Not Reaching Operating Temp (Usually a Thermostat)
If your heat is weak and your temp gauge seems lazy, this one pops up a lot. A thermostat stuck open is a common culprit. It’s usually not an “pull over now” emergency, but don’t ignore it forever fuel economy and engine performance can suffer.
P0700: Transmission Control System (Usually “Read the Other Codes”)
P0700 is basically your car saying, “Hey… something transmission related is going on,” but it’s not the detailed diagnosis. If this shows up, you want the full code list.
Also: check the transmission fluid level/condition if your vehicle has a dipstick. If it’s brown, smells burnt, or has glitter (metal flakes), that’s a “call a shop” situation.
“Can I Clear the Code?” Yes. “Should I Right Before Emissions?” Absolutely Not.
You can clear codes after repairs, but clearing them resets readiness monitors. Translation: your car’s computer has to run a bunch of self tests again, and that takes real driving often 50-100 miles of mixed conditions (cold start, city, highway).
If you clear codes right before an emissions test, you can fail for “not ready” even if the car is fine. So give yourself time. Your future self will thank you.
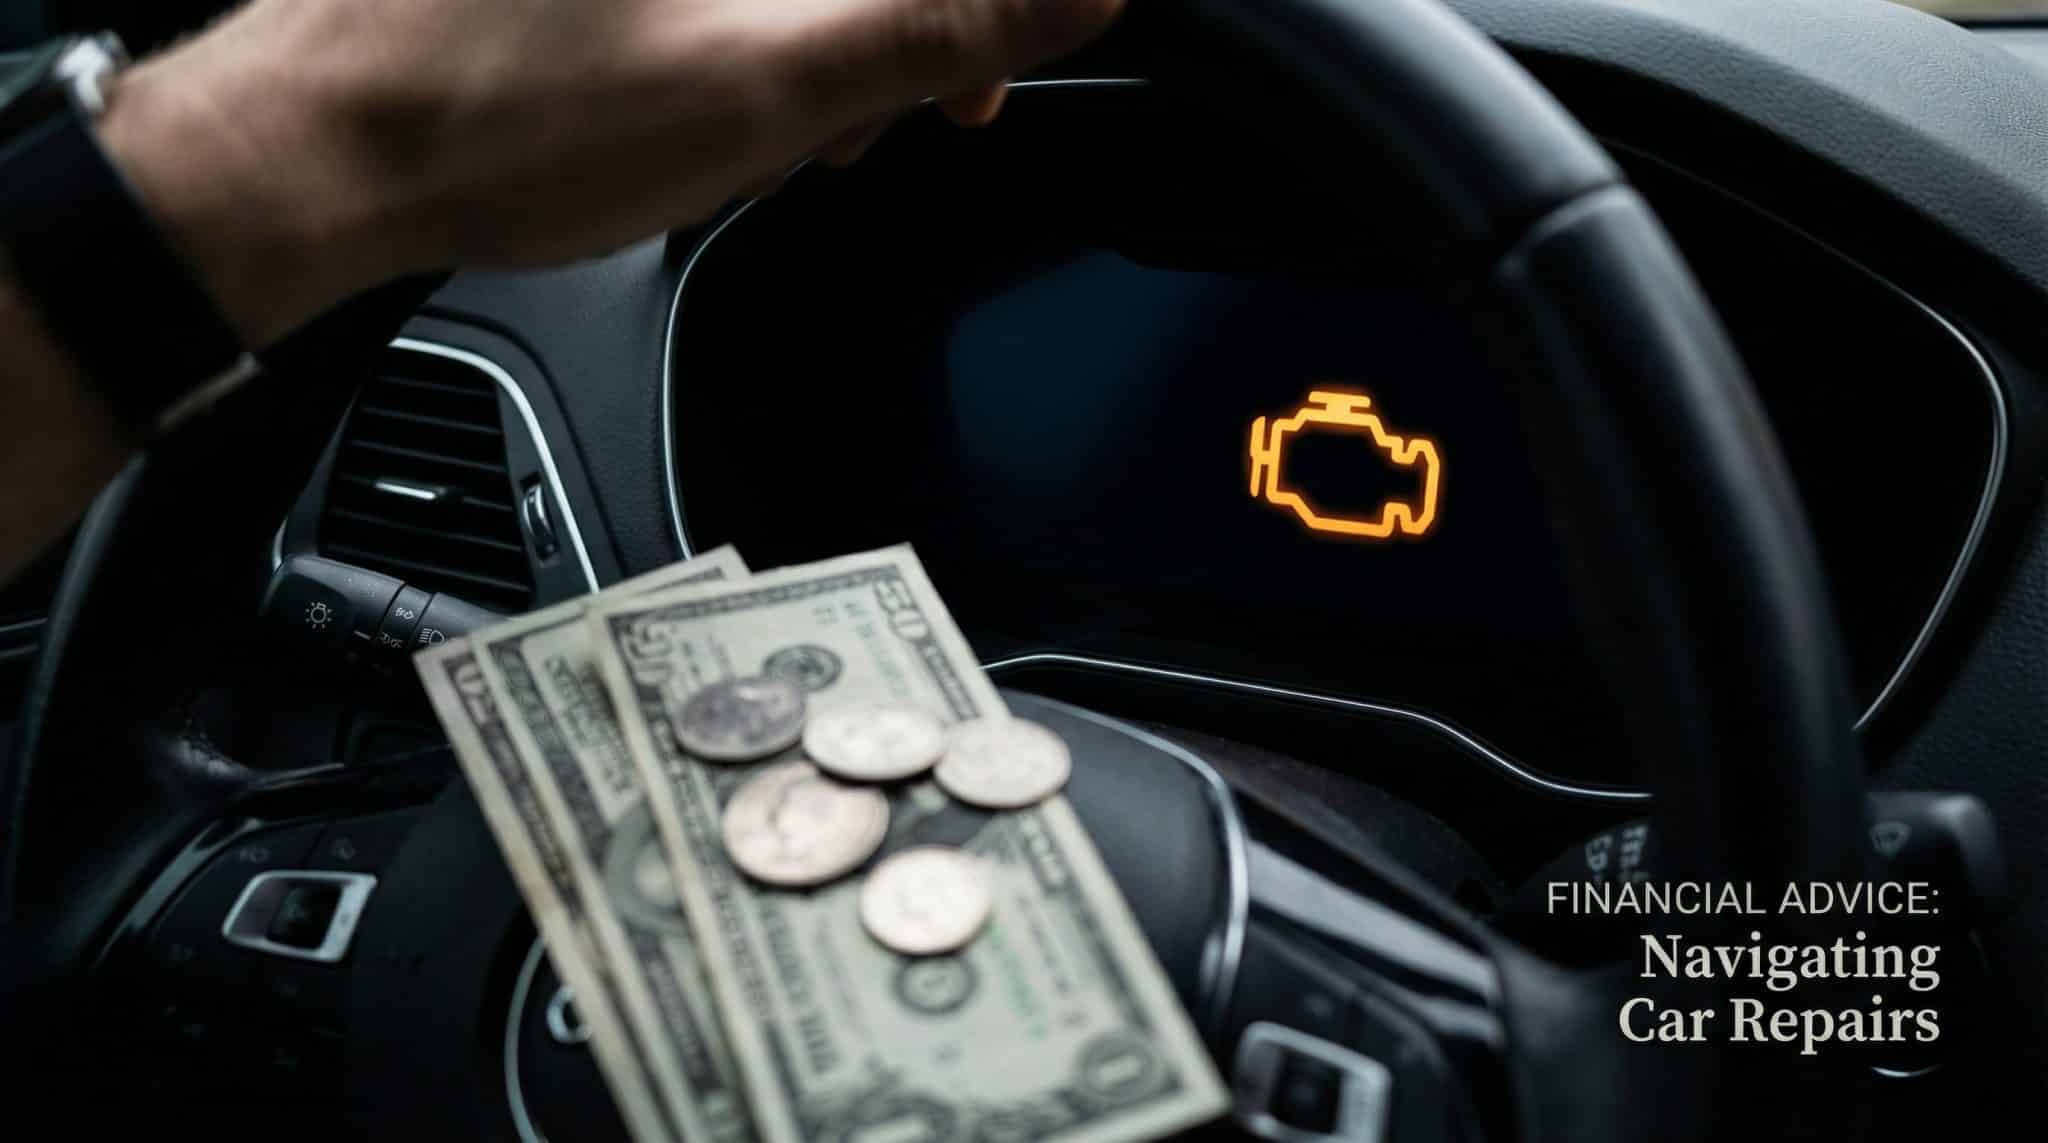
What These Fixes Usually Cost (So You Don’t Get Played)
Every car is different, but here are common ballparks that help you sanity check a quote:
- Gas cap: $10-$25 (often DIY)
- Engine air filter: $20-$50 (DIY on most cars)
- Spark plugs (with labor): roughly $150-$400 (access matters a lot)
- Oxygen sensor: around the mid $200s (parts + labor, varies)
- MAF sensor replacement: often a few hundred (cleaning is cheaper try that first)
- Ignition coil + plug (single cylinder repair): can land around ~$400 depending on car
- Catalytic converter: often $1,000+ (verify the cause before you hand over your credit card)
Diagnosis and repair cost ranges can run $50-$150 at an independent shop and $100-$200+ at a dealership (sometimes applied toward the repair). It’s annoying to pay for “just looking,” but it’s still cheaper than firing the parts cannon and hoping.
DIY vs. Mechanic: My Honest Rule of Thumb
DIY is usually worth it when:
- It’s an EVAP code and you haven’t done the gas cap and hoses routine yet.
- You’re looking at basic maintenance (air filter, MAF cleaning, maybe spark plugs if they’re accessible).
- You can clearly see the issue (cracked hose, loose connector, etc.).
Call a pro (or at least get a real diagnosis) when:
- The light is flashing.
- You’ve got a bunch of unrelated codes at once (could be electrical/communication issues).
- It’s transmission related, airbags, ABS, or network communication stuff.
- The same code keeps coming back after you address the basics.
- It needs real testing like fuel pressure, compression, smoke testing for leaks, etc.
Bottom line: the check engine light isn’t a death sentence. It’s your car sending a dashboard engine warning message sometimes politely, sometimes like a drama queen. Pull the code, do the simple checks first, and save the big spending for when you actually have proof you need it.